CulebrONT安裝筆記
基因體散彈槍定序的生物資訊工具很多,由於核酸定序的數據樣態隨著科技進步不斷改變,怎樣選擇這些生物資訊工具其實是個大問題。我們來試試這個CulebrONT,他可以用來運行各種的散彈槍定序組裝的生物資訊工具、修正(polishing)、甚至於(有必要的話)把序列圈起來等等,幫助你進行各種方案間的比較,讓使用者可以建構適合自己的理想工作流程,這篇是我們的安裝筆記。
CulebrONT發表原文出處
CulebrONT文件說明:https://culebront-pipeline.readthedocs.io/en/latest/index.html
實驗室的Z2工作站作業系統是Ubuntu,已經有安裝Python了,依照CulebrONT的安裝說明,我們還需要先另外安裝R與Graphviz,以下是用SSH遠端登入進行安裝的過程記錄:
1. 安裝R
R: https://cran.r-project.org
# update indices
$ sudo apt update -qq

# install two helper packages we need
$ sudo apt install --no-install-recommends software-properties-common dirmngr

# add the signing key (by Michael Rutter) for these repos
# To verify key, run gpg --show-keys /etc/apt/trusted.gpg.d/cran_ubuntu_key.asc
# Fingerprint: E298A3A825C0D65DFD57CBB651716619E084DAB9
$ wget -qO- https://cloud.r-project.org/bin/linux/ubuntu/marutter_pubkey.asc | sudo tee -a /etc/apt/trusted.gpg.d/cran_ubuntu_key.asc

# add the R 4.0 repo from CRAN -- adjust 'focal' to 'groovy' or 'bionic' as needed
$ sudo add-apt-repository "deb https://cloud.r-project.org/bin/linux/ubuntu $(lsb_release -cs)-cran40/"

#installation
$ sudo apt install --no-install-recommends r-base
2. 安裝Graphviz
Graphviz: https://graphviz.org/download/
$ sudo apt install graphviz3. 然後安裝CulebrONT:
$ python3 -m pip install culebrONT
culebrONT --help

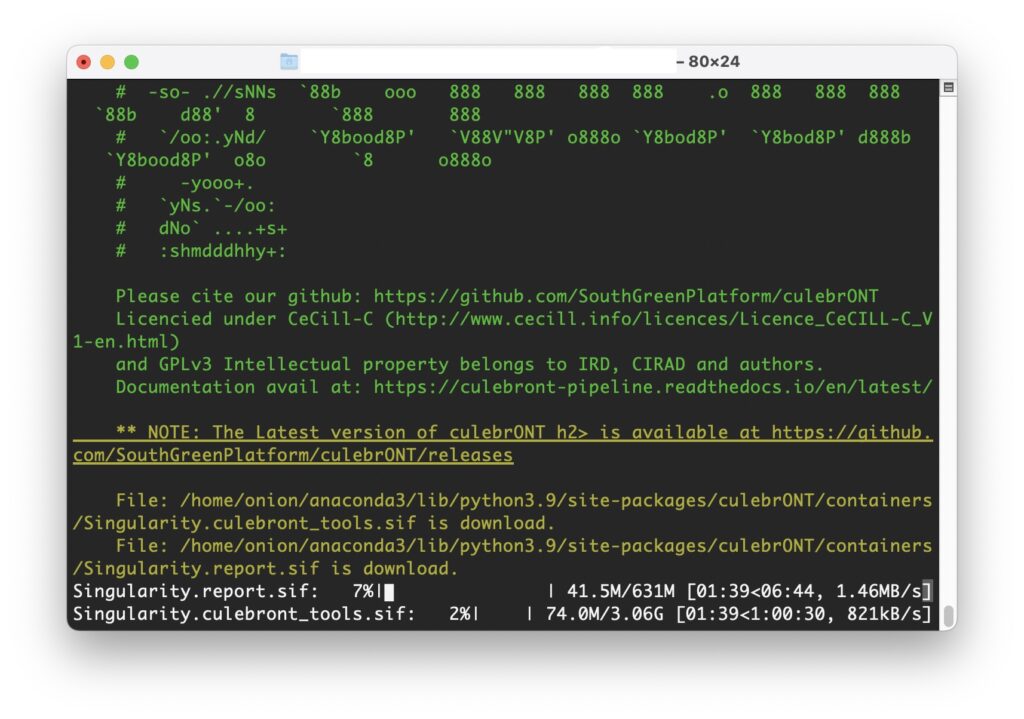
#以下要下載超過4G的內容喔
$ culebrONT install_local
4. 還要裝Singularity
其實按照說明文件,原本到這個步驟就算裝完了,但是他會跑出一個「The singularity command has to be available in order to use singularity integration.」的錯誤警告。顯然是告訴我們,CulebrONT還得用到Singularity這個container platform,但我們….還沒有裝這個!所以以下就來安裝一下SingularityCE:
Singularity的網站有詳細安裝說明:https://docs.sylabs.io/guides/main/user-guide/quick_start.html#quick-installation-steps
4.1. 首先,系統裡面要先裝上一些libraries還有依賴的開發套件:
$ sudo apt-get install -y wget build-essential libseccomp-dev libglib2.0-dev pkg-config squashfs-tools cryptsetup runc4.2. 安裝GO:
SingularityCE是用GO寫的,需要安裝GO。可到https://go.dev/dl/ 下載到Linux的版本:
#用wget下載
$ wget https://go.dev/dl/go1.20.4.linux-amd64.tar.gz
#解壓縮
$ sudo tar -C /usr/local -xzvf go1.20.4.linux-amd64.tar.gz
#把環境變數設給它
$ echo 'export PATH=/usr/local/go/bin:$PATH' >> ~/.bashrc && \
  source ~/.bashrc
4.3. 到GitHub下載SingularityCE 3.11.3的Source Code回來,解壓縮:
#下載
wget https://github.com/sylabs/singularity/releases/download/v3.11.3/singularity-ce-3.11.3.tar.gz
#解壓縮
tar -xzf singularity-ce-3.11.3.tar.gz
4.4. 編譯與安裝SingularityCE
$ cd singularity-ce-3.11.3
$ ./mconfig && \
    make -C builddir && \
    sudo make -C builddir install
這樣SingularityCE就可以用了,馬上來測試一下看看。
備註Go compiler not found (May 2024)
有一次我們在另外一台Ubuntu安裝這個,結果在Sigularity 3.6.3安裝的時候遇到了問題。狀況是明明已經裝好了Go 1.20.4,但是Sigularity的安裝卡在這裡:
checking: host Go compiler (at least version 1.17)... not found!我們在這裡找到了解方,他們遇到的問題大同小異,而他們的解法稍作修改可以解決這個Go compiler not found的問題。
5. CulebrONT測試包的下載與測試:
說明文件寫說CulebrONT有提供測試包可以使用,我們照著把他抓回來裝在test底下
#這會下載300多MB的測試包到test裡面
$ culebrONT test_install -d test
然後測試看看:
$ culebrONT run_local -t 8 -c test/data_test_config.yaml --singularity-args "--bind $HOME"測試成果的結果會放在FINAL_RESULTS底下,是個漂亮的html報告,用網頁瀏覽器可以閱讀。

